publish dot net core application
In this article I’ll discuss how to publish net core MVC application.
I have used VS 2019
Open visual studio 2019
Click on Create New Project then window will open
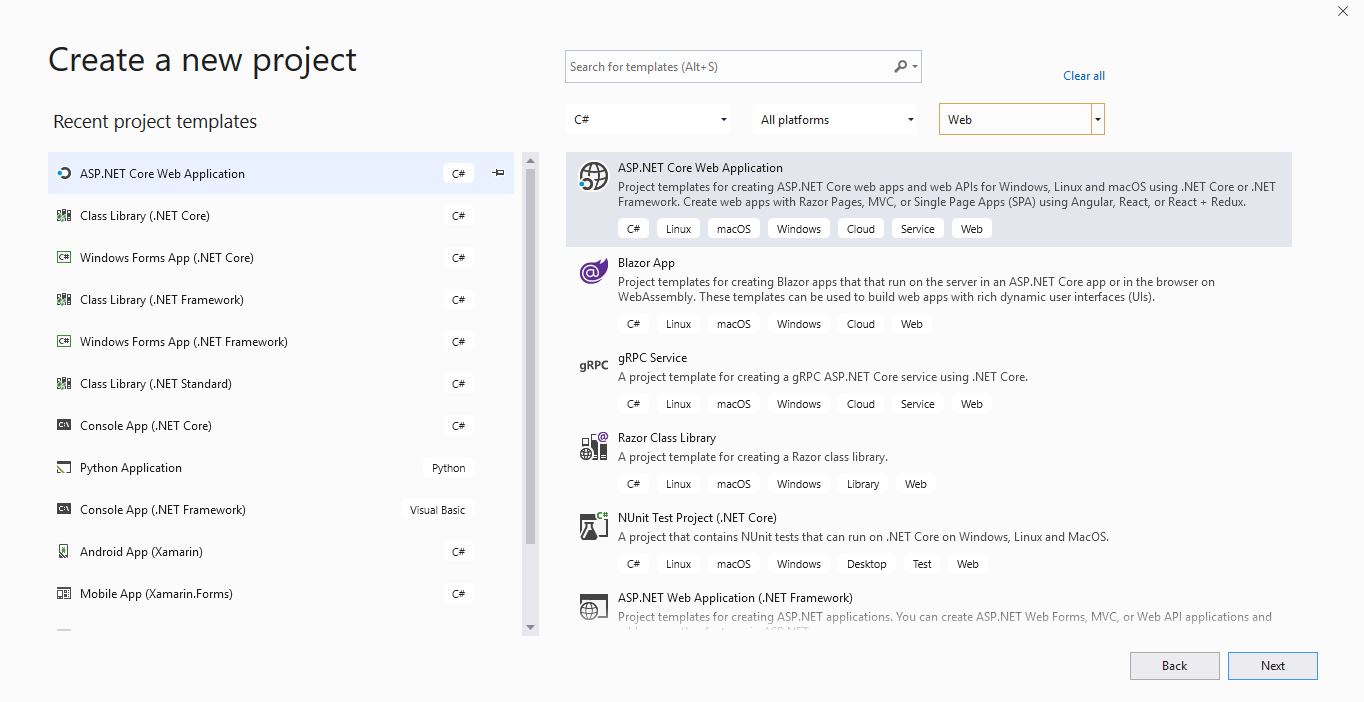
Select Asp.net Core Web Application and click on Next Button then window will be open
Here specify
Name -> Name of Project you want
Location -> Select/Specify Location where you want to create Project.
Solution Name ->Solution Name will be same as Project Name
Click on Create Button then window will open as-
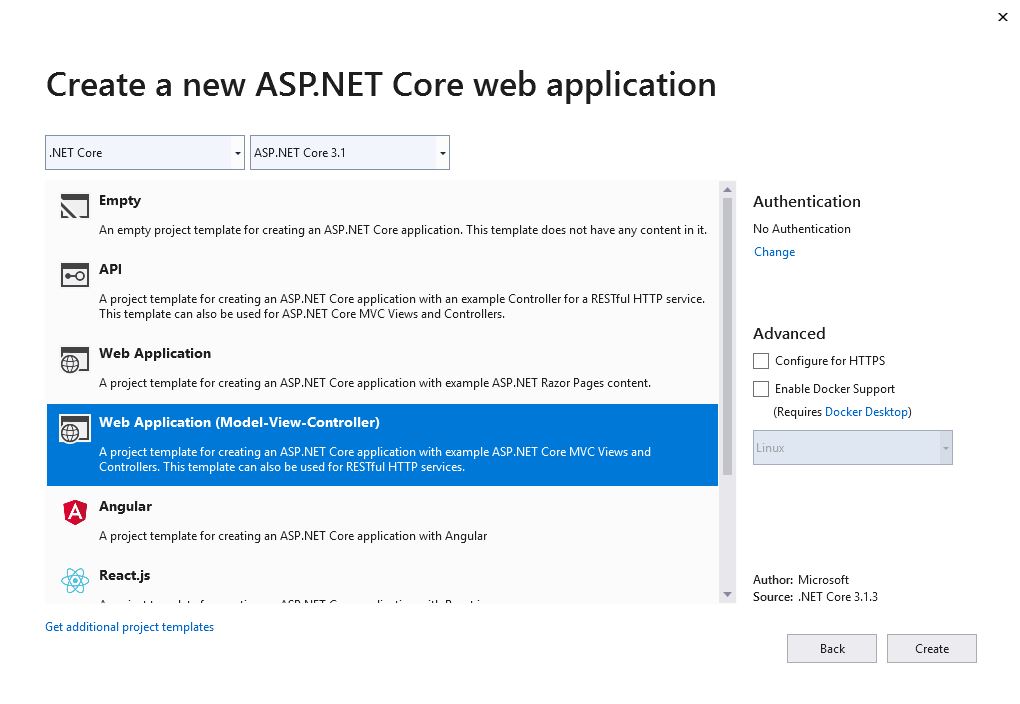
Here Select Web Application (Model-View-Controller) and uncheck Configure for Https
And Click on Create Button your project will be created.

Rebuild your application.
Publish your project process
Create folder in drive where you want to publish
As I have created in E:\Publish File\publishcoretestapp
Go to solution explorer -> Write click on project Name -> click on publish
Then window will be open as –
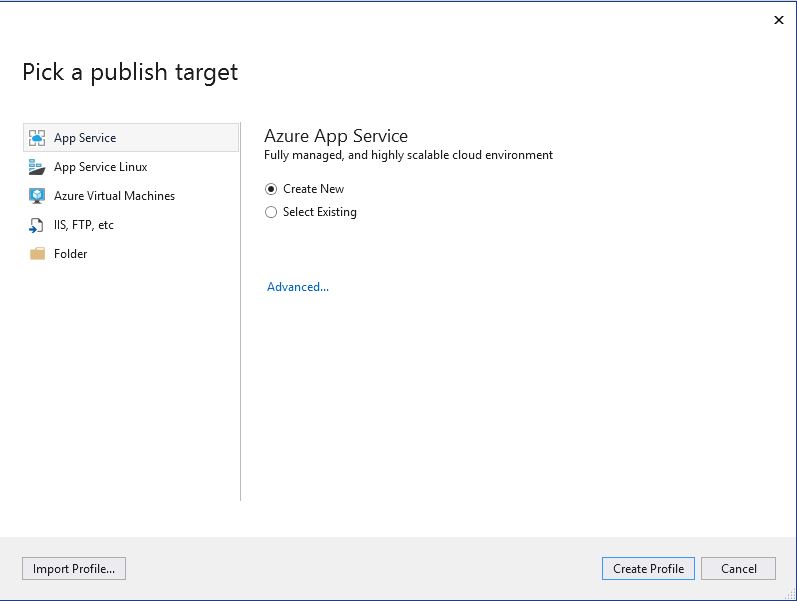
Select folder option -> folder or share file click on browse button and select your folder where you want to publish
As E:\Publish File\publishcoretestapp
If you want to change configuration then click on edit pencil button then window will be open as –
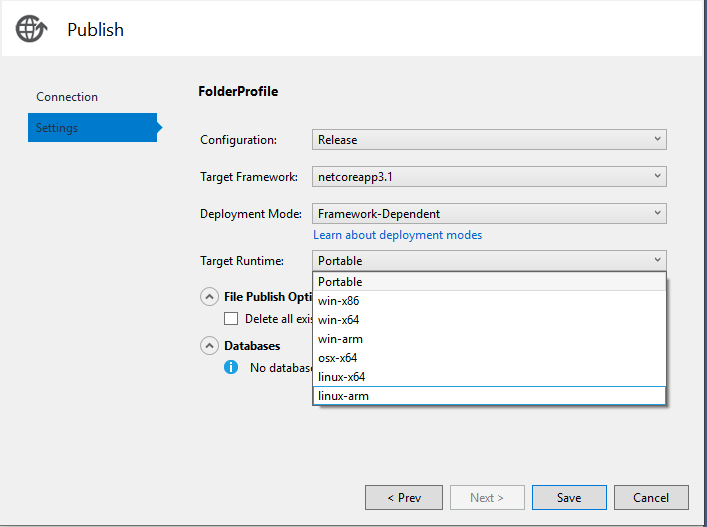
Above we can change as per our requirements-
Deployment Mode ie (feamework-Dependent or Self-Contained)
Target Runtime as per Required above screen
If you want delete all files in folder and publish then checked check box on file publish Option.
Then click on save change button if you have changed any thing above other wise click on cancel button.
Now click on publish button our project will be published
Below you will get publish succeeded message.